
Poor Me, boo-whoo

Look how green and pretty it is starting to look, the temp. is 70 and calm, plus it is sunny. And what am I doing. Sitting in the house, feeling sorry for myself cause I would rather be outside in the garden then here near the phone because I do not want to miss a call from the satellite repair person. They were schedule between 8-12 this morning but here it is 1:15 and I'm still waiting. Did call twice to let me know they are running behind. Your saying, that's to be expected. So I'm having a little pity party.
Well I've cleaned, and cleaned and just tried of cleaning so I thought I would look up a few things on the computer. And lo and behold I came across a couple of sites on how to make a bag from an old T-shirt. You might of have seen this before but it's new to me. I like it. I had cleaned out part of my closet and had come across some old T-shirts. Perfect.
This is what I made in less than 20 minutes.
 This is from a child size small.

This is from an extra large adults.
You see the bag is big,
Big enough to carry all of this.

 This is a top, backing and the batting, ready to go to the quilter.

So you want to know how, easy-peasy.
 Find an old (or new) T-Shirt

 Cut the sleeves off.

 Now you want to make the opening at the neck larger. One site suggested a plate or large bowl as a guide. I thought the plate was too small for this shirt.

 So I found a platter, oblong in shape and bigger. I liked this.

 Mark 

 Cut

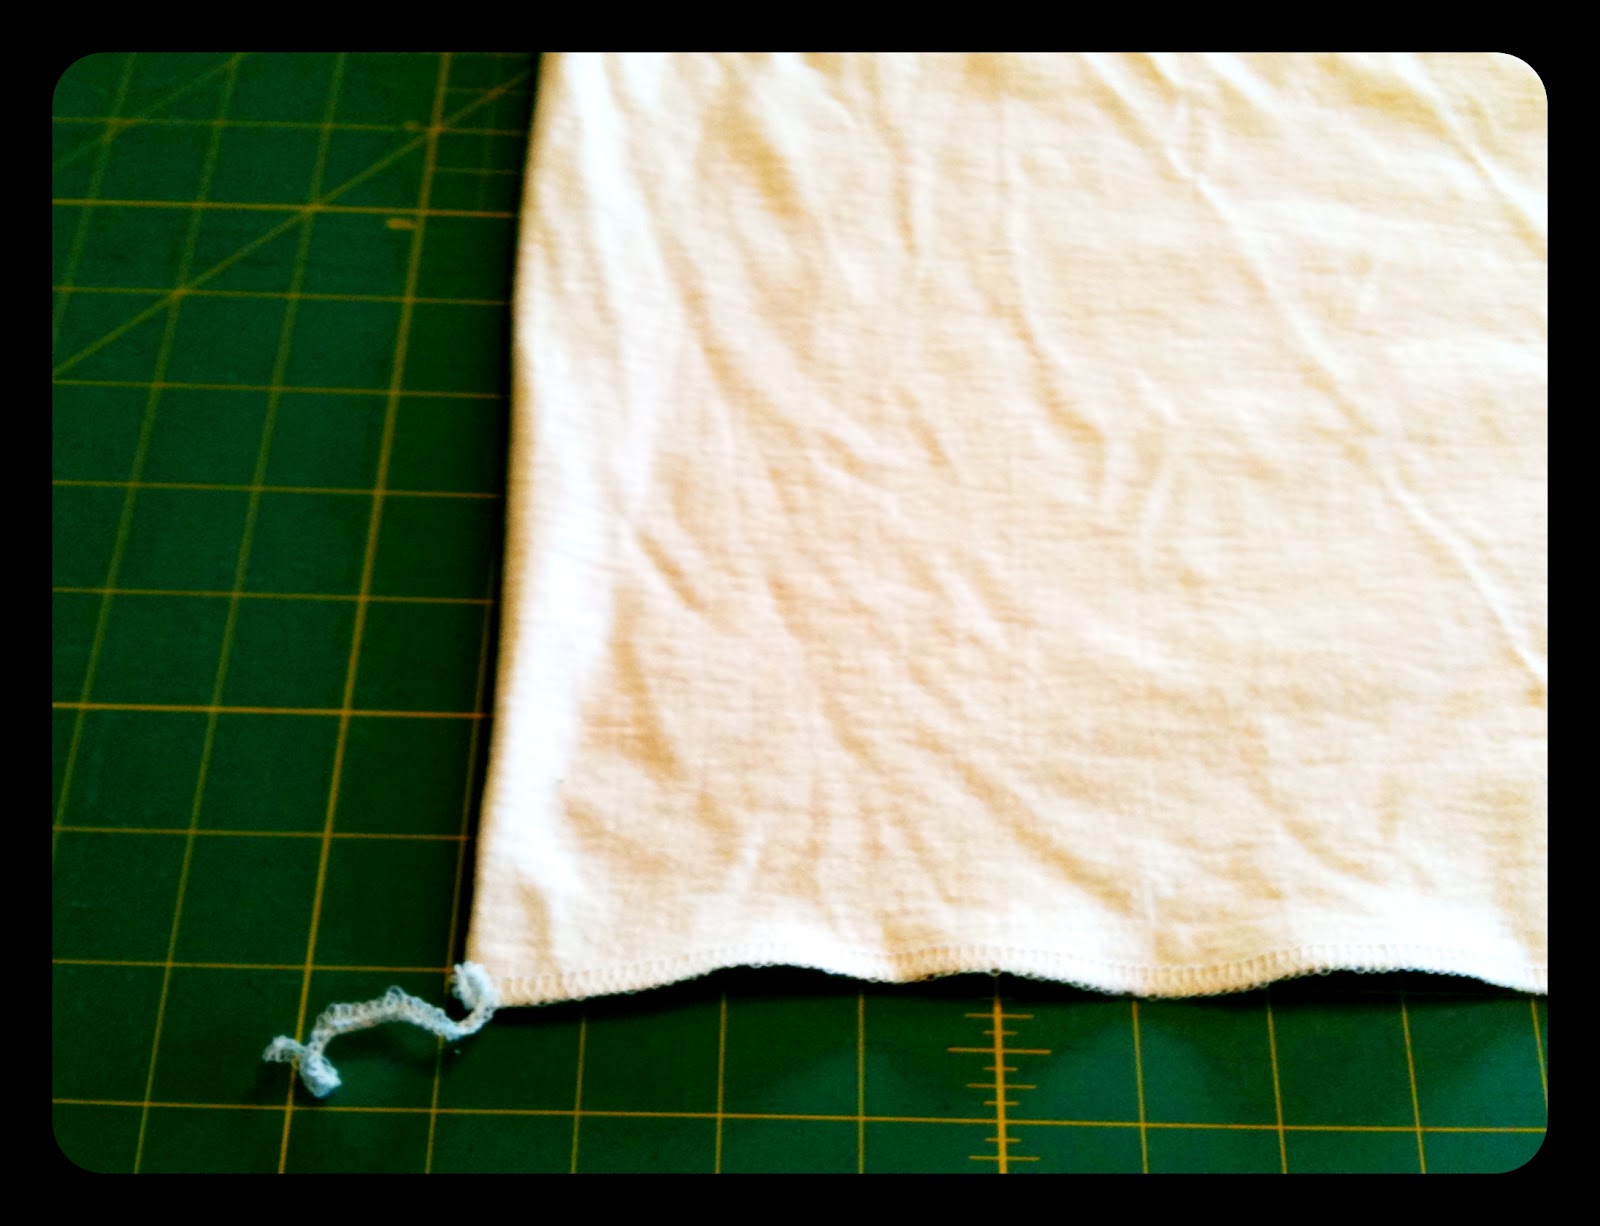
 Now turn it inside out and sew the bottom of the shirt together. I used my serger but if you do not have one just sew on you sewing machine and do 2 stitch lines. That will help reinforce it.

 You can round them off.

 Or square.

 I like the rounded look myself.
Now your done.

 I did leave the collar on like one site said and this is what it looked like.
But after finishing the large T-shirt, I decided I would cut the collar off this one too.

OK, it's now 1:45pm and still no repairman.
This is starting to sink. Now what am I going to do. 
I'll see, until
Next time
Kat 
=^..^= 

Comments

  1. what fun bags, do you have a cordless phone you could bring with you outside?

    ReplyDelete
    Replies
    1. Yes I do but my veggie garden is past the range of the phone. And that is where i need to be.

      Delete
  2. I was so glad to see your blue/purple Sugar Twist quilt picture! That is the next quilt I want to make.

    ReplyDelete
  3. Those bags look quick and easy and would be good for the grandkids sleepover stuff. Thanks for the tip.

    ReplyDelete

Post a Comment

Welcome friends to share a thought, I enjoy reading them and will try my best to reply back by email most of the time. But if you do not hear back it's because you are a no-reply blogger.

Popular posts from this blog

How to Make a Portable Design Wall

I had wanted to get a portable design wall to take to retreats but did not want to pay the price. Looked at various pins on pinterest and took ideas from more than one to come up with my verison. It worked out great and only cost a fraction of the price. The PVC pipes, joints and 2 yards of felt cost under $22.00 My design wall is 4' x 4' which stands approximately 5 1/5' tall. For this size need 2 - 10ft length of 3/4" PVC pipe for the frame and 4ft of 1" PVC pipe for the feet Cut the 3/4" PVC into 4 - 4' section                                                                                       2 - 1' section              Cut the 1"  PVC into 4 - 1' section          The joints you'll need will be 2 - 3/4" elbows 2 - 3/4" T's 2 - 3/4" to 1" T (this will be the base of the Feet) 4 - 1" elbow Also need pipe cutters (this cost me almost as much

Yarn Along 2/20/13 Spoon Pin Doily

It's snowing here and I know some of you are tired of snow but here we will take the moisture any way we can get it. Plus it just gives me a reason to stay in and work on some of my projects. In this picture I'm not sure if you can make it out but in the background there are some wild turkeys that hang around the house sometime, just  chilling This project I'm working on is Spool Pin Doilies.   I had never heard of them before until Bonnie Hunter had mentioned it on her blog . She a had a viewer send her one for her sewing machine along with a pattern. I did not like the pattern but loved the idea so I decided to make up my own version. I wanted a more simple, smaller and fuller doily. So I tried different thread sizes to get one that I like. (From left to right) I tried sock yarn, which I'll redo because I think I like that look. Heavy weight crochet thread, nope too big Bamboo yarn, I like it. Looks good on my Kenmore. Pearl cott

What's Up

Well that is a big question, what's up Seeing how I haven't posted since before the retreat I went to. So I will show what I did at the retreat and what I have been doing these past few days, which is this Log Cabin Christmas Tree  wall hanging I have the blocks completed and now it just a matter of getting them sewn together. I'll get to that tomorrow. While at the retreat I made this baby quilt top with the disappearing 4-patch block. I had a charm pack and used some "snow" fabric Kaufman snow is one of my favorite whites to use. It's white but not a stark, bright white, goes well with a majority of the fabric I've collected. I started late making my blocks for RCS14 First I wasn't sure what pattern I wanted to make and then with all that was going on the first part of the year, I didn't start until July. One quilt is using a quarter log cabin in solid colors. I made these at the retreat, have the other half t