
Today at church I had a thought come to me and unfortunately it wasn't how to bring peace to the world.
We have singles who do not have family, are away from their family or have no plans for Thanksgiving, so I thought what about giving them a pie, pumpkin pie seeing how it's the pie of choice. But I was thinking a regular pie is just too much for one person. Then came the light bulb moment, why can't I make a pumpkin pie in a jar like I did with the cherry pie. That's what I did this afternoon, baked pies
I maded them basically the same way I did the other pies. I did buy pre-made pie crust dough and a can (15oz) of pumpkin and just made up the filling like do any other time I make this pie.
I'm adding a little more info:
The jars I used are half-pint, wide-mouth Ball canning jars. That way you know they can take the heat of the oven. And if you do not have a pumpkin pie recipe, the one on the label of Libby canned pumpkin is a good recipe. Also I was only able to make 4 pies because that is all I had of that size jar. There was enough filling for 2 more. It would take 3 pie dough rolls (pre-made) to do 6 pies.

Lay out the dough and take the jar and cut out a circle using the jar.
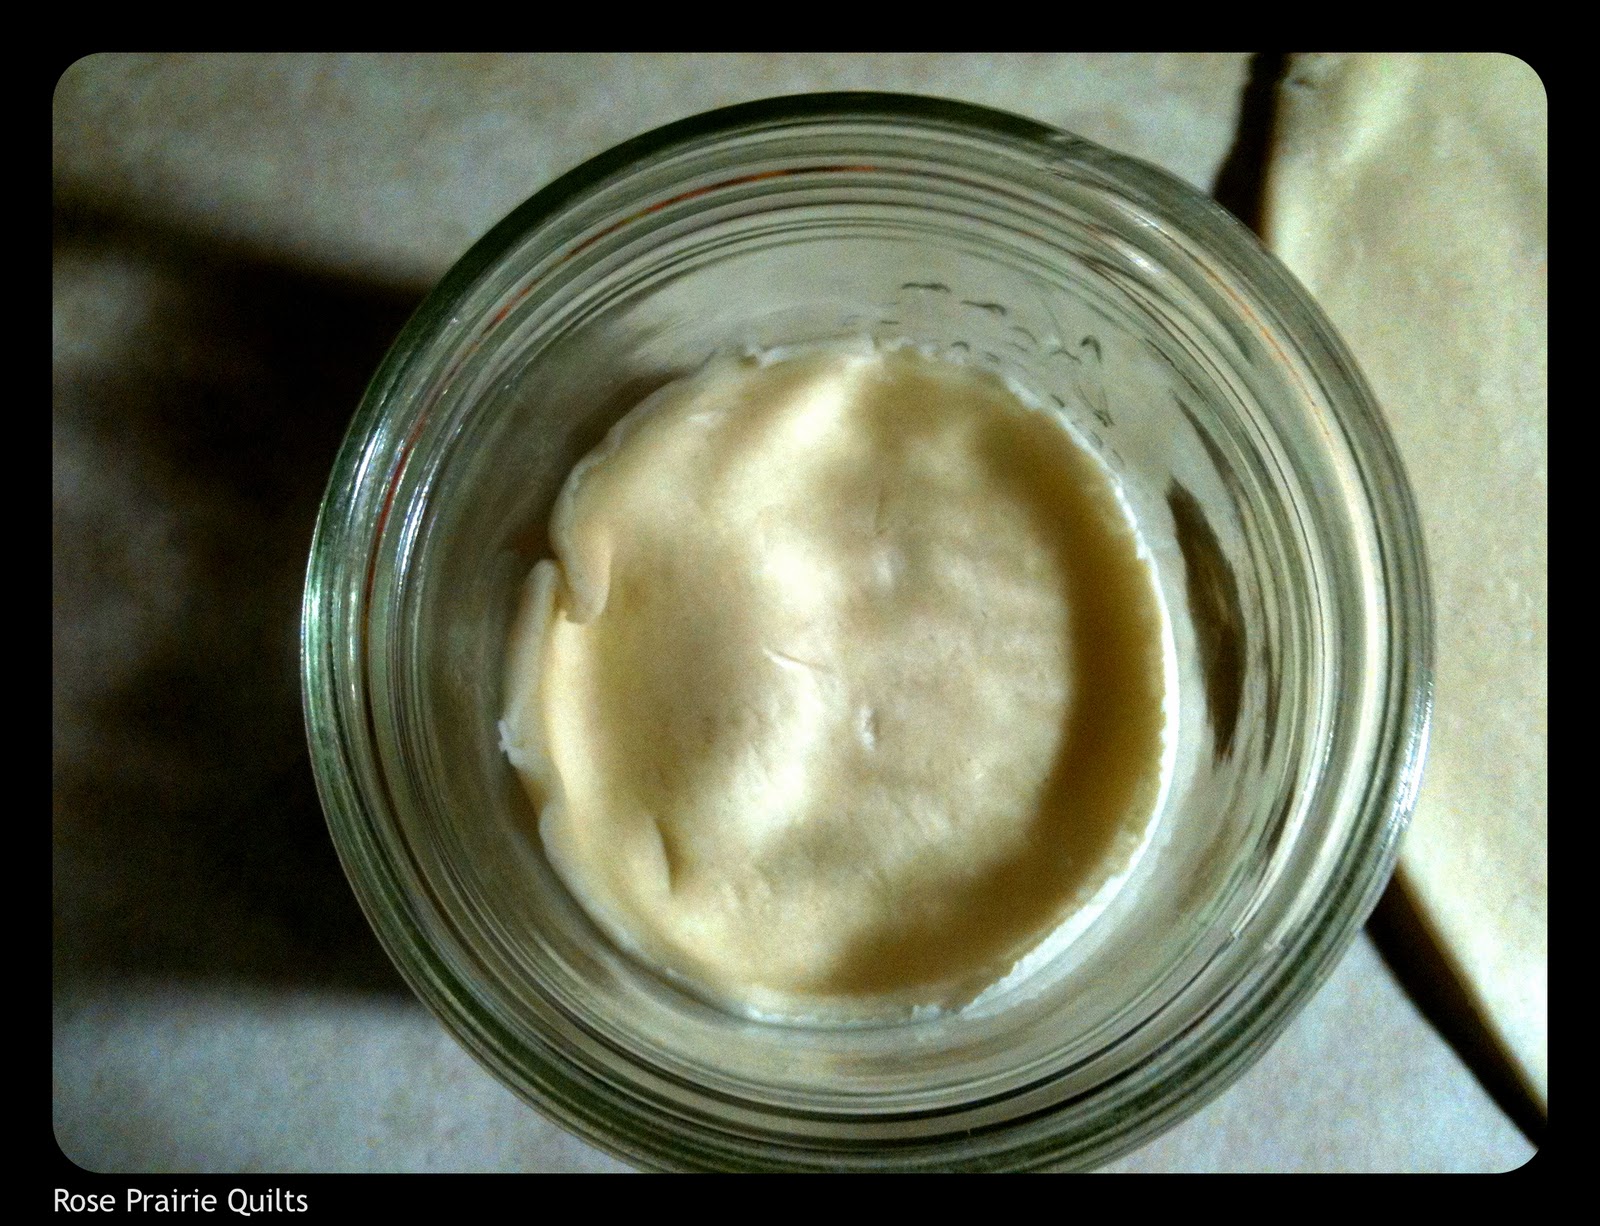
Put the dough circle in the bottom of the jar, making sure it's even all around the best you can.

Then cut a strip of dough 2.5" x 8.5".

Wrap this piece around the inside of the jar like my example. Press the edges together.

I saw this on Martha the other day, a braided edge. Just thought it was the prettiest edge to a pie and have never done one before. It wasn't hard, you just need to be gentle and do not pull too hard.

I used water for the binding agent along the edge when I applied the braid. I did not fill the jar all the way, I left about 3/4" from top. The filling will rise while baking.

Put on cookie sheet and bake at 350* for approximately 50 - 60 minutes. Test by inserting a knife in pie, it should come out clean.

Just look how pretty they are and "the man of the place" was my guinea pig, They were good he said.
So this will a great gift to someone this holiday.
Till next time
Kat
=^..^=
Till next time
Kat
=^..^=
Link to deborah jeans dandelion house, homestead revival and comfy in the kitchen
I like it, Mom! Very cool idea both for the pies and giving it to someone for the holidays. =)
ReplyDeleteWonderful Idea! I am short on pie pans but have plenty of mason jars. Thanks for sharing your creativity and providing me with a wonderful solution to this years Thanksgiving dessert buffet.
ReplyDeleteThose are just adorable! And yummy too I bet!
ReplyDeleteThanks for sharing them with us this week!
Deb
These are just too cute and really creative. Thanks so much for sharing this idea!
ReplyDeleteThis is such a sweet idea! I've seen lots of jar desserts before, but never anything this cute!
ReplyDeleteWhat a unique idea for a pie.
ReplyDeleteI love it! You are very crafty! Thanks for sharing!
ReplyDeleteThese little pies inside a jar are wonderful! And you are so thoughtful to make theses treats for your friends.
ReplyDeleteThose are great! Thanks for linking up to the Frugal Tuesday Tip.
ReplyDeletehttp://learningthefrugallife.blogspot.com/